


In Captain America: Sentinel of Liberty #13, guest artist Alina Erofeeva joins Kelly and Lanzing for the penultimate chapter of Cold War! Just when White Wolf thinks he’s gained the upper hand, Sam Wilson and Steve Rogers rally under the banner of Captain America. Meanwhile, Black Widow and Peggy Carter clash over what it means to be a hero – and whether Bucky Barnes is still someone worth saving.
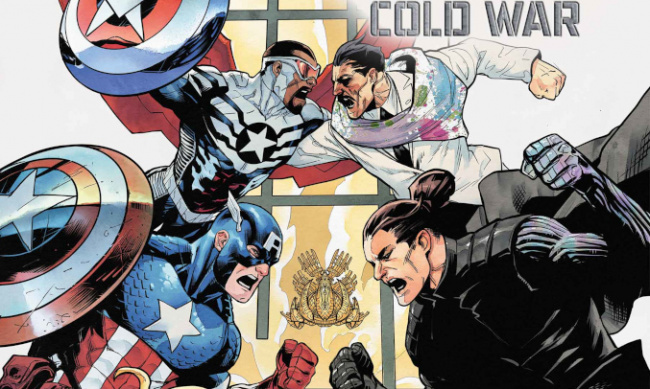
In Captain America: Cold War Omega #1, all three Captain America scribes team up with superstar artist Carlos Magno for the pulse-pounding Cold War finale! White Wolf has unleashed an army of Dimension Z monsters upon our world as a declaration of global war, and Team Cap’s only hope to stop it is to take him down for good. Meanwhile, Bucky Barnes deploys his final chess piece – Ian Rogers himself – to turn the situation in his favor. Lifelong friends battle alongside mortal enemies – and change the trajectory of their lives – in this stunning conclusion!
Then, join Onyebuchi and guest artist Zé Carlos for a special Cold War aftermath issue in Captain America: Symbol of Truth #14. Fresh from the battle with Bucky Barnes and White Wolf, Sam Wilson returns home to Harlem with battle scars and a renewed sense of focus. With Misty Knight by his side, he sets out to forge a new path – and maybe reunite with some old friends along the way.
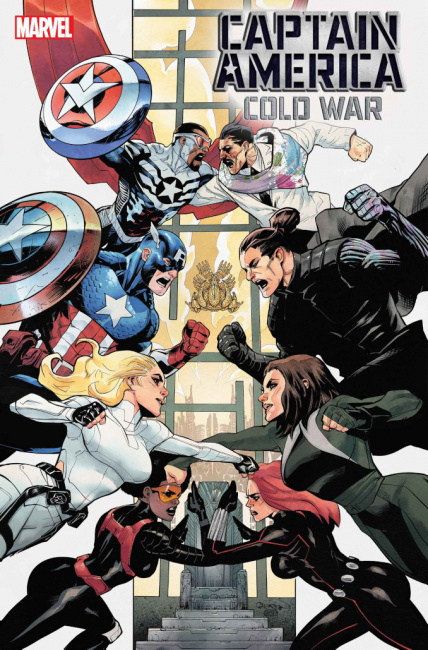
Captain America: Sentinel Of Liberty #13 – Cold War Part 5
Written by Collin Kelly & Jackson Lanzing
Art by Alina Erofeeva
Cover by Carmen Carnero
On Sale 6/7
Captain America: Cold War Omega #1 – Cold War Finale
Written by Collin Kelly, Jackson Lanzing & Tochi Onyebuchi
Art by Carlos Magno
Cover by Patrick Gleason
On Sale 6/14
Captain America: Symbol Of Truth #14 – Cold War Aftermath
Written by Tochi Onyebuchi
Art by Zé Carlos
Cover by R.B. Silva
On Sale 6/28
Click Gallery below for full-size images.
 View Gallery: 3 Images